

Hello my beauts and happy Friday! Thank goodness it is the weekend, time to party and relax at the same time. I am sorry I have been MIA the past week, I have been dealing with a family crisis that happened on Sunday, September 18th. My step mom Kayla was in a horrific car crash where she was hit head-on by a one tonne pick up truck towing a wood chipper. The impact was so severe that it took firefighters almost an hour to get her out of the car where she lost half of her blood supply. She died but they were able to miraculously bring her back. She has undergone at least 20 hours of surgeries in the past week and there will be many, many more surgeries to follow. The doctors are in awe that she is still with us. She had her jaw broken in four places, her nose broken, her pelvis shattered, her diaphragm as well, her hip bone was sheered off, both legs broken, both ankles, one foot had to be reattached. They’re not even sure if she’ll ever walk again.
It has been touch and go with all of the injuries and operations she has had to endure.
My dad, her fiancee has been by her side every step of the way and wishes to continue to do so. This is where we need your help. With Kayla in the hospital and my dad by her side, they have no income coming in. We are not trying to be greedy by any means, but if people could help to raise some money so that my dad can stay by her side, it would be so greatly appreciated. The love and support Kayla and my dad have received has been overwhelming, and from the bottom of our hearts, we thank each and every one of you.
We will keep everyone updated as to Kayla’s progress as we continue down this long road to recovery. If you do wish to donate please visit https://www.gofundme.com/2qre83fg. Anything is greatly appreciated, god bless.
So now that you all know where my mindset has been for the past week, I decided to do a makeup blog this week on how to apply eyeshadow, and pretty much the basic & easy steps to follow. A friend of mine had reached out to me and requested this blog post to help her out. When applying eyeshadow, it can be a difficult process, especially if you are not used to wearing makeup a lot or simply you are new to it. Over the past years, I have self-taught myself researching makeup tutorials on youtube and other social media sites. By no means am I saying this is the correct way to apply eyeshadow or this is the only way, this is simply how I personally apply eyeshadow. I think this process is a very simple and easy one to follow, as I include pictures down below as well. I have not edited the makeup shots of my face and eyes just to show you beauts the true colour of the palettes that I have used within this tutorial. I included two different palettes that could be very beneficial for you guys to use, but feel free to explore and find one you love! I personally had to go with my all time favourite “Kat Von D Shade and Light Eye Palette” where you can purchase at Sephora for $35.00, which really is not bad at all considering the pigmentation is unreal. You can also use this other palette that I purchased at Sephora as well by Smashbox called the “full exposure palette”, and I usually always use the cream colours and the light browns.
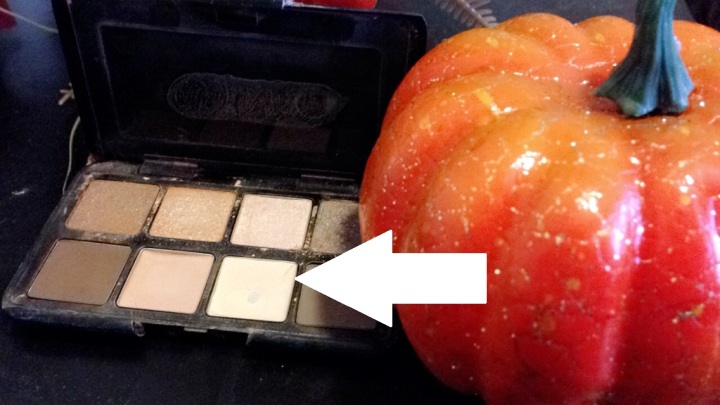
(Smashbox Full Exposure Palette)
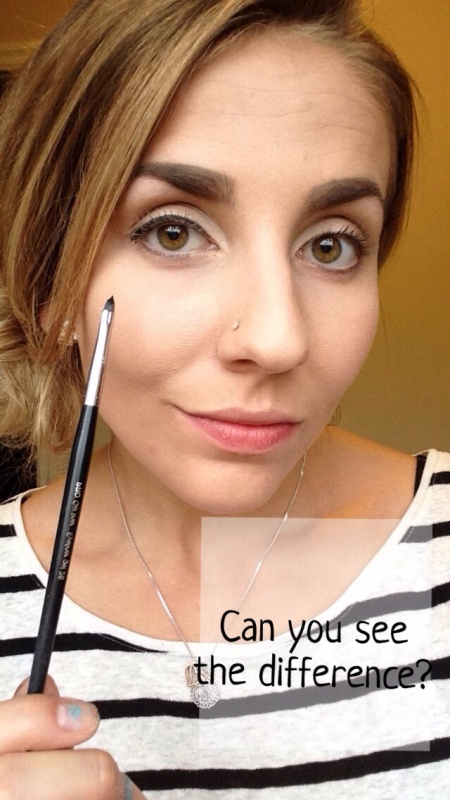
So first before applying any eyeshadow I ensure that I have applied some sort of an eyelid primer. Here let me show you guys the difference between my two eyes; one with primer on the right and the one without primer on the left.
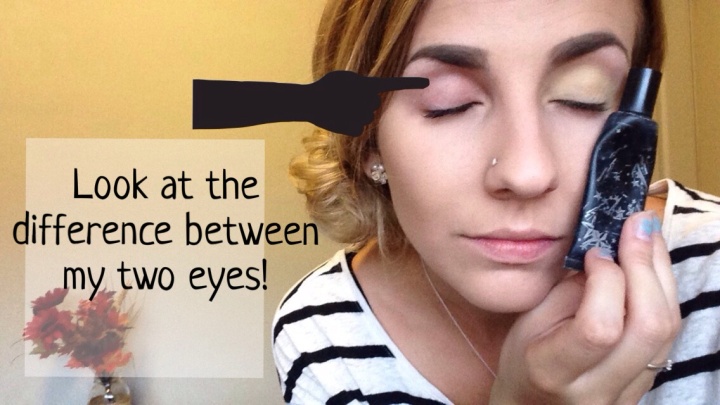
As you can see, the eyelid on the right has a more yellow pigmentation to it which allows my eyeshadow to stay on better and the pigmentation from the eyeshadow to show up better. Trust me, you will for sure want to use a primer. I am still in love with my Kat Von D High Voltage eyelid Primer where you can purchase at Sephora for $25.00. Totally worth it.
Now that you have primed both eyelids you can move onto the eyeshadow. First I like to use my Kat Von D palette and go in with this cream colour shade, which I use as my base shade.
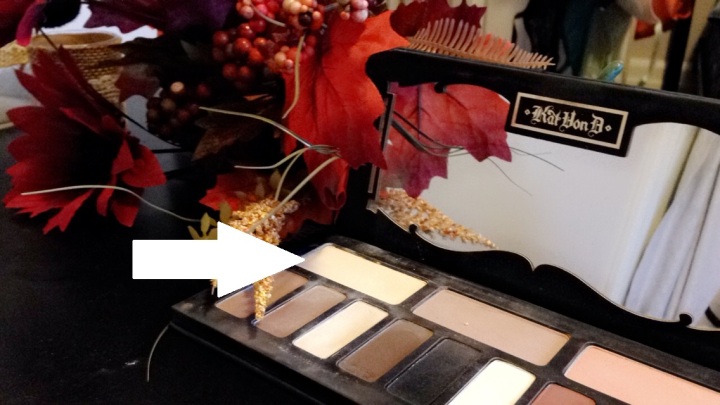
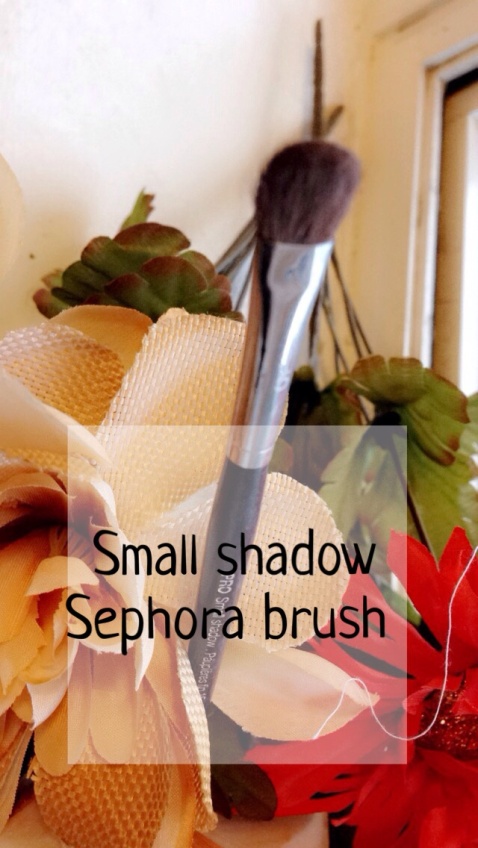
This beautiful cream colour is super subtle and also looks very gentle for the natural look we are going for today. I apply this colour all over the entire lid with my small eyeshadow brush that I purchased at Sephora for around $20.00. Now I know what you are thinking, what number is the brush called and so forth blah blah blah. Honestly, I am not too big on specific brushes that I use for my makeup, as long as it gets the job done. But for this first step, I do recommend a smaller and more dense brush.

Once you have applied the cream shadow all over your lid, take a nice “taupe” or “light brown” eyeshadow within your palette and apply this to the outer corner of your lids. You are still going to be using the same brush as earlier, but you are only going to take small amounts of this eyeshadow to start. This helps ensure that you do not over do your look, as you want it to remain natural looking.

How beautiful is this brown shade located in the Kat Von D palette?! It is such a neutral colour and allows you to build up your pigmentation if you desire to. I also highly recommend the NYX Taupe Eyeshadow which you can purchase at any Shoppers. I have used this product numerous times and it creates a nice and gentle look.


As you can see, I simply made a triangle shape as I applied the taupe colour within the outer corner. Do not worry If your brown looks very harsh or messy, you are going to be blending the shadow with a fluffy brush afterwards.

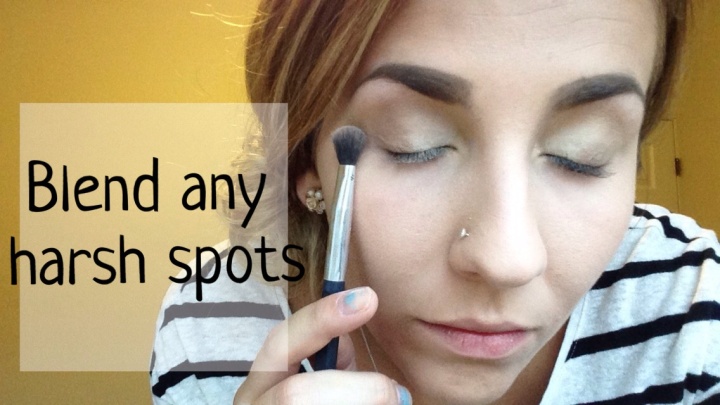
Now take your fluffy blending brush (purchased mine at Walmart) and start blending in the taupe nicely into the outer corners. I also take the taupe colour and apply it along the crease as well. This is simply the outer edge of the eye along your eyeball (trust me you will feel it). If you choose to do this step, be sure to take the time to blend this eyeshadow in nicely, if you rush it you will end up with a super harsh crease.You simply drag the taupe colour across your crease and let go just before your inner eye corner.
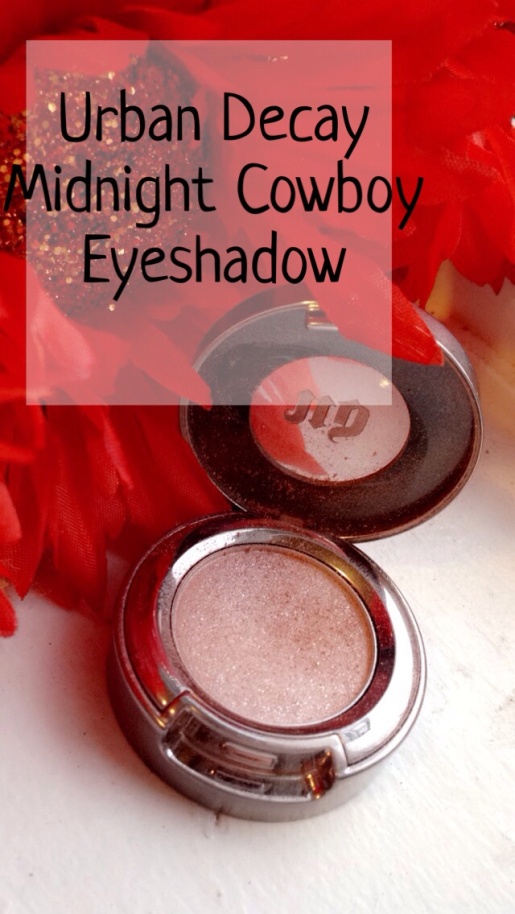
Now that you have blended out any harsh spots, this is optional, but I always like to add some sort of a shimmer to my eyeshadow routine even if it is a more natural look. I like to go in with my Urban Decay Midnight Cowboy Eyeshadow and apply this within the middle of my eyelid. I do not apply this where the taupe colour is whatsoever, strictly within the middle of my lid.

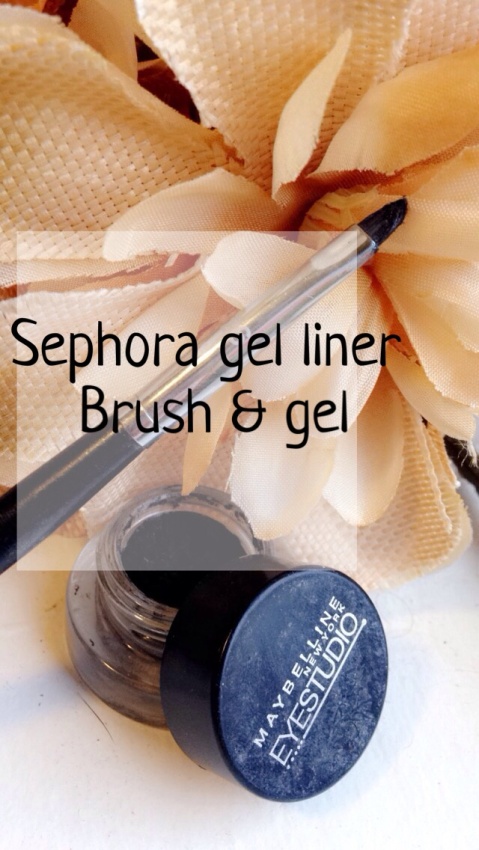
Now that you have applied all your eyeshadow on your lids you can go in with a gel liner to help make your eyes “pop” or “stand out”. Again, this is an optional step, but I highly recommend doing this! I simply use my gel liner brush from Sephora along with my Eye Studio Gel Liner by Maybelline (Purchased at Walmart) and apply this on along my upper lash line. You can choose how thick you want your line to be, but if you are creating a more natural look, I would recommend creating a thinner line.
(Just look at the difference between the two eyes with and without the gel liner on top!)
After applying the gel liner, I then go in with my mascara and apply that all over my lashes. Right now I am using the Falsies Push Up Drama Mascara by Maybelline.

Voila! You now have a flawless natural makeup look using the basic methods of applying eyeshadow. If you choose to, you can also line the bottom of your lashes with the taupe colour that you had previously used, and add some false lashes to spice up your natural look!

If you do not really wear fake eyelashes, I highly recommend just buying a cheap pair, and I mean cheap (from the dollar store) and experimenting with them. I never used to wear false lashes but every time I go out for the night, I always have them on! I think they top off your makeup look and really make you look gorgeous! If you are interested in trying out some lashes seriously grab some at the dollar store. I always use my elf lashes and I literally buy them for $1.50 at the dollar store, and they still look flawless. There is noway in hell I will buy a $30.00 pair at Sephora when they look just as good for a cheaper price!
I hope this blog eyeshadow tutorial helped you guys out! Please let me know if you have any questions or suggestions on what to write my next blog about. Be sure to follow my other social media sites as well:
snapchat- alyssahotrum
instagram- alyssahotrum_xo
Take care & much love.
")


I really loved this post.. you have yourself a follower 🙂 would you be interested in maybe doing a guest post for my blog ? 🙂
LikeLike
Awh thank you very much I really appreciate it ! I would love to for sure 🙂 xo
LikeLiked by 1 person
Drop me an email on lifemakeupstyle@hotmail.com
LikeLike
Absolutely loved this post
LikeLike
super pretty! i love natural looking makeup the best! i have the same maybelline gel liner, but i find that its too tough and not easy to line my eyes with! not sure why i havent had good luck with it. your eye liner looks on point though!
check out my blog for more beauty and fashion related posts! 🙂
http://www.sprinkleofsurprise.wordpress.com
instagram: @sprinkleofsurprise
LikeLike
Some great tips. Thanks for sharing! 🙂
LikeLike
You’re so welcome! Thank you for reading !:)
LikeLiked by 1 person